In the last post, I outlined the application stack you’ll need to follow along in this series. Now it’s time to set up what developers call the development environment.
As I mention before, we will be using Visual Studio Community Edition. You can download the installer here.
Newer versions of Visual Studio exist, but Visual Studio 2022 is still widely used in enterprise environments. Since this series focuses on practical, real-world development, that is the version we’ll use.
Download and Launch the Installer
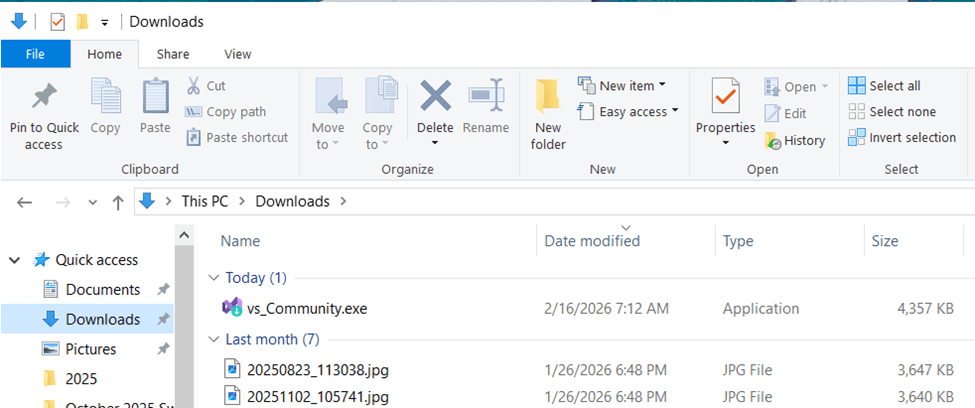
Once the installer download is complete, open your Downloads folder and double-click the installer file, vs_Community.exe.
You will notice that the first thing the installer installs is yet another installer. Yes, I’m serious; another installer.
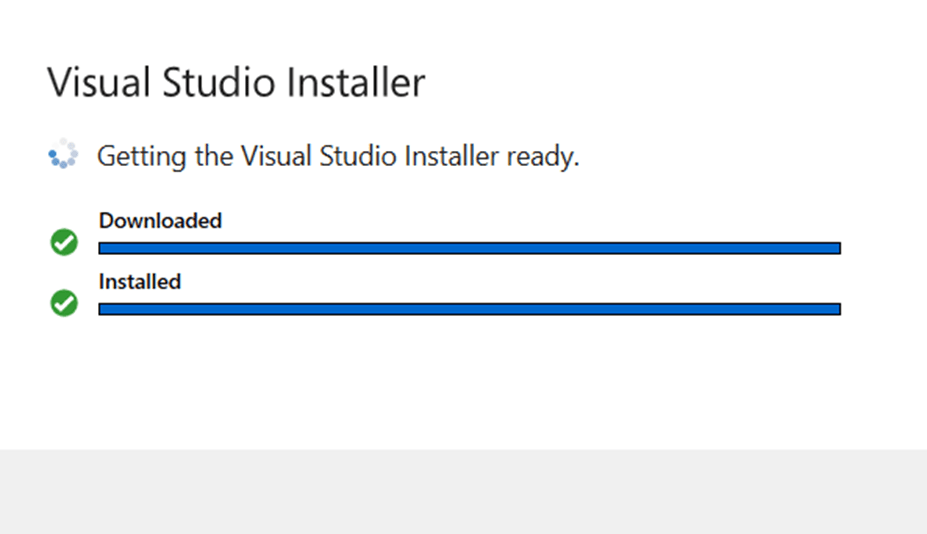
This installer, Visual Studio Installer, is a management tool that handles:
- Downloading required libraries
- Updating Visual Studio
- Managing multiple Visual Studio versions
- Installing SQL Server Management Studio
- Building application installers (eventually)
The last item in the list is an advanced topic for much later in the series.
The Most Important Screen (Workloads)
At this point in the installer, you have reached the most important – and most confusing – screen of the entire installation.
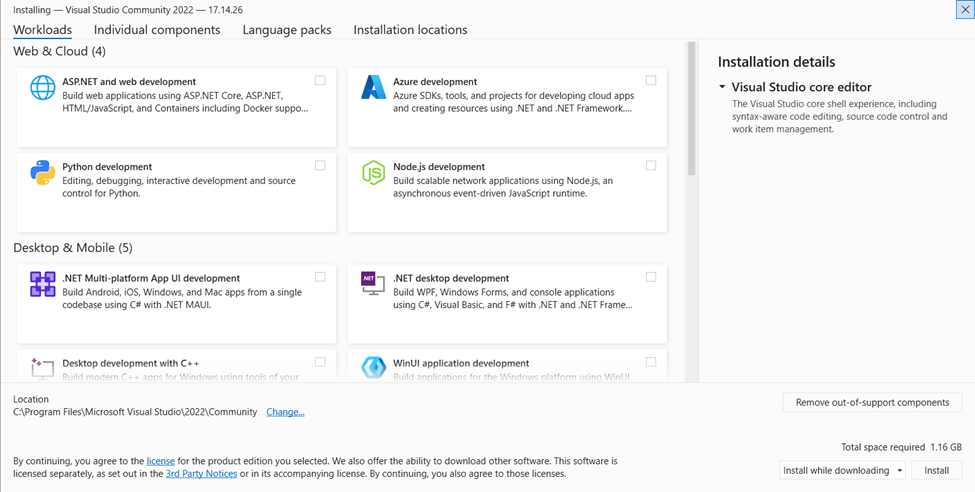
This is the Workloads screen.
Workloads are bundles of tools and libraries grouped by development type. Instead of manually choosing hundreds of components, you simply select the types of development you plan to do.
For this series, select these workloads:
- ASP.NET and web development
- .NET Desktop Development
These workloads install everything needed for:
- C# web applications
- Windows desktop applications
- Templates and compilers
- Debugging tools
- .NET SDK support
For me, this downloads 465 components totaling about 2.75 GB of data.
Imagine installing all of those individually.
Other workloads exist (Azure, Python, Node.js, Game development, Data science, etc.), but we won’t need them for this, introductory series.
Click Install and let the installer do its work.
First Launch
When the installation completes, Visual Studio may start automatically. There is an option on the installer status screen for this. If it does not start, open it from your Start Menu. Regardless of how it starts, pin it to your taskbar. You’ll be using it a lot.
During the first launch, Visual Studio will ask you to sign up for GitHub Copilot Free. We’re learning to code first – not how to prompt AI.
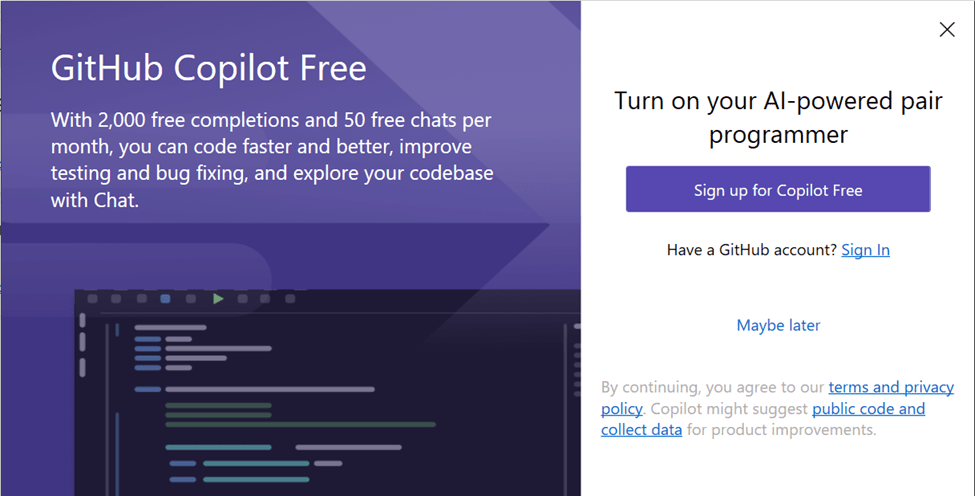
Click Maybe later for now.
(We’ll talk about Copilot soon. I have some war stories.)
Validate the Installation
Before writing any code, we want to ensure that installed correctly.
On the start screen, click Continue without code.
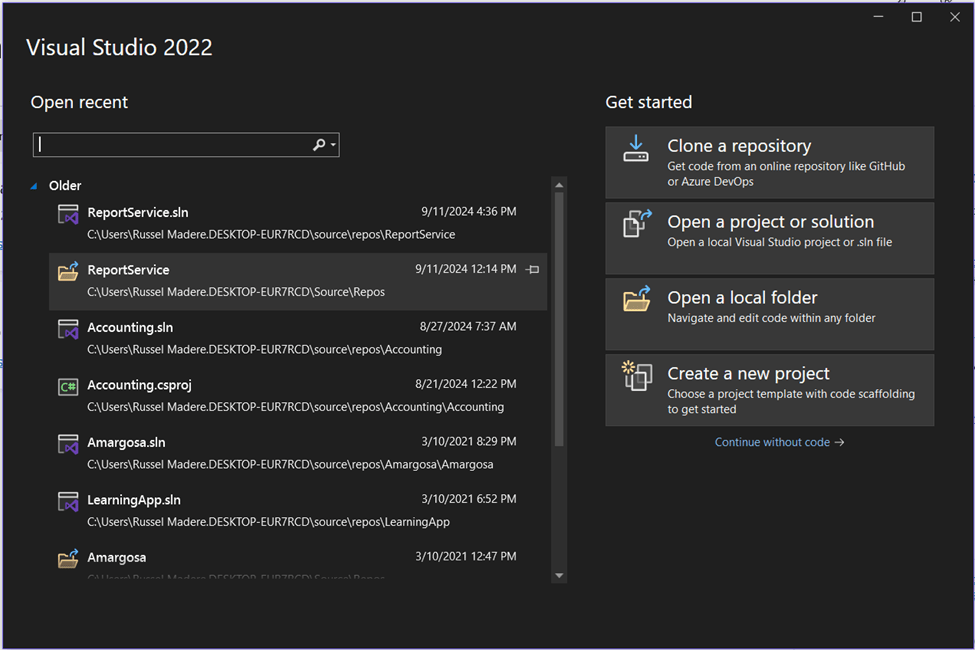
Once Visual Studio loads:
- Click Help -> About Microsoft Visual Studio
- Confirm the following:
You should see:
- Edition: Visual Studio Community 2022
- Version: 17.x
- Installed Products: ASP.NET and Web Tools
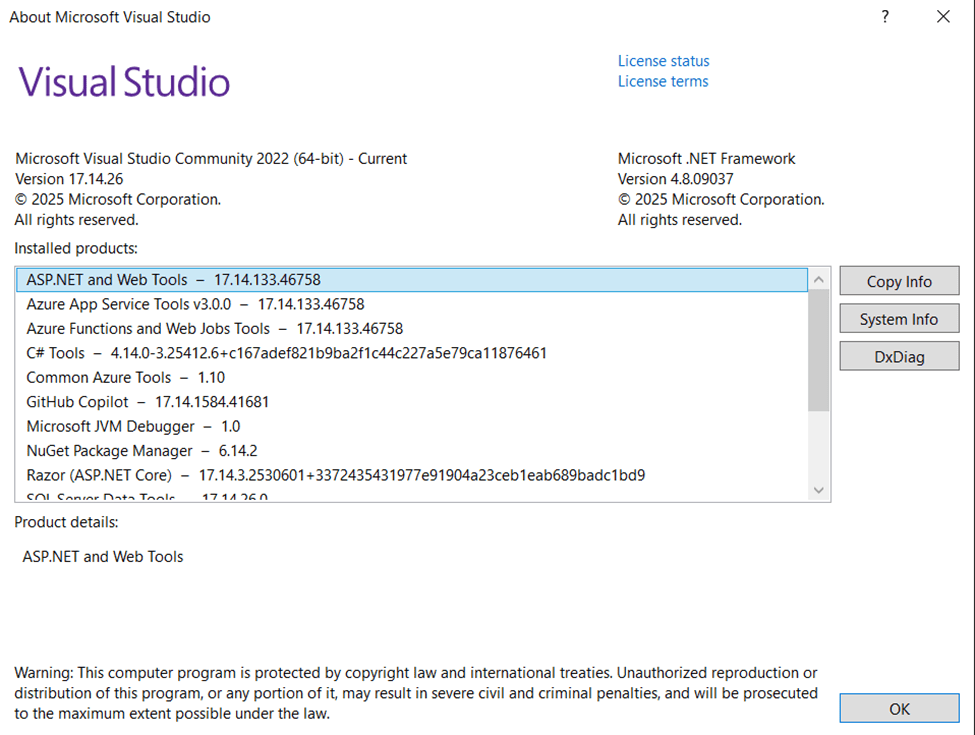
If you see those, you’re in good shape.
Verify .NET 8 is Installed
Next, we need to confirm the .NET 8 SDK is installed.
Open the Terminal inside Visual Studio:
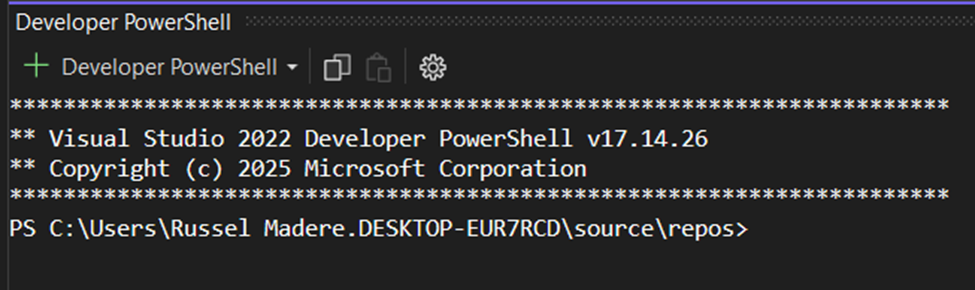
View -> Terminal
or
Tools -> Command Line -> Developer PowerShell
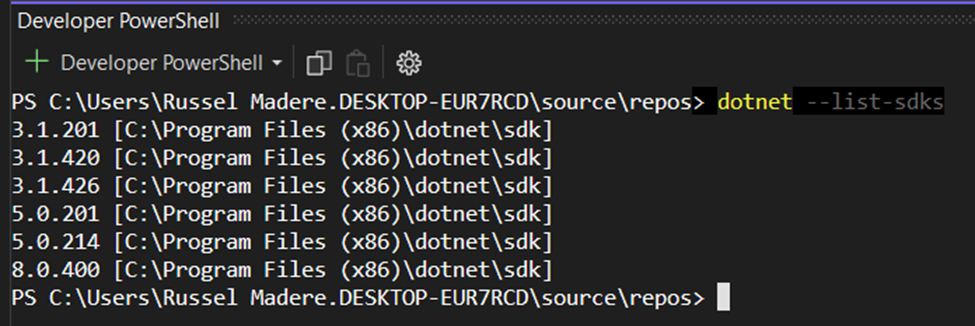
Run this command:
dotnet --list-sdks
Look for 8.x.x in the list.
Example:
8.0.4 [C:Program Files (x86)\dotnet\sdk]
What is an SDK?
SDK stands for Software Development Kit. These are the tools Visual Studio uses to build and run applications.
We are using .NET 8, a Long Term Support (LTS) version of .NET.
If .NET 8 Is Missing
If you don’t see .NET 8 in the list:
Inside the Installer
- Close Visual Studio
- Open Visual Studio Installer
- Click Modify
- Open the Individual Components tab
- Check: .NET 8 SDK and .NET 8 Runtime
- Click Modify
Or download it directly here:
https://dotnet.microsoft.com/en-us/download/dotnet/8.0.
What’s Up Next?
Next week we’ll create out first Hello World application and begin turning it into something a little more enterprise friendly.
Join The Section
If you’re a veteran – or just someone who wants to learn as part of a team – I’m forming a learning group. I’m calling it a section.
To you legs, a section is like a squad… but better.
Hey! Don’t complain, I’m an artilleryman. We’re the King of Battle.
This will be a group of veterans and beginners learning to code together. We may eventually organize Baton Rouge, La. meetups or virtual sessions.
For now, the first step is simple – Subscribe to the blog and join the section.
Russel, still Coding!
